 Guide
Guide Solutions
 Testing
Getting Started
Welcome to our documentation! This guide will help you get started with our platform.
Overview
Our API provides a simple and secure way to process payments and manage subscriptions. This guide covers the basics of integrating with our platform.
Authentication
All API requests require authentication using an API key. You can obtain your API key from the developer dashboard.
API Keys
Include your API key in the Authorization header of all requests:
Authorization: YOUR_APP_TOKEN
Error Handling
Our API uses conventional HTTP response codes to indicate the success or failure of an API request.
Error Codes
| Code | Description |
|---|---|
| 200 | The checkout link has been successfully created |
| 401 | The Authorization header is either missing, contains an invalid application token, or includes an incorrect hash |
| 400 |
The request body is invalid due to one or more of the following errors. Detailed error information will be included in the response:
|
| 429 | Too many requests have been made within a one second period |
OnepayJS Script File Usage
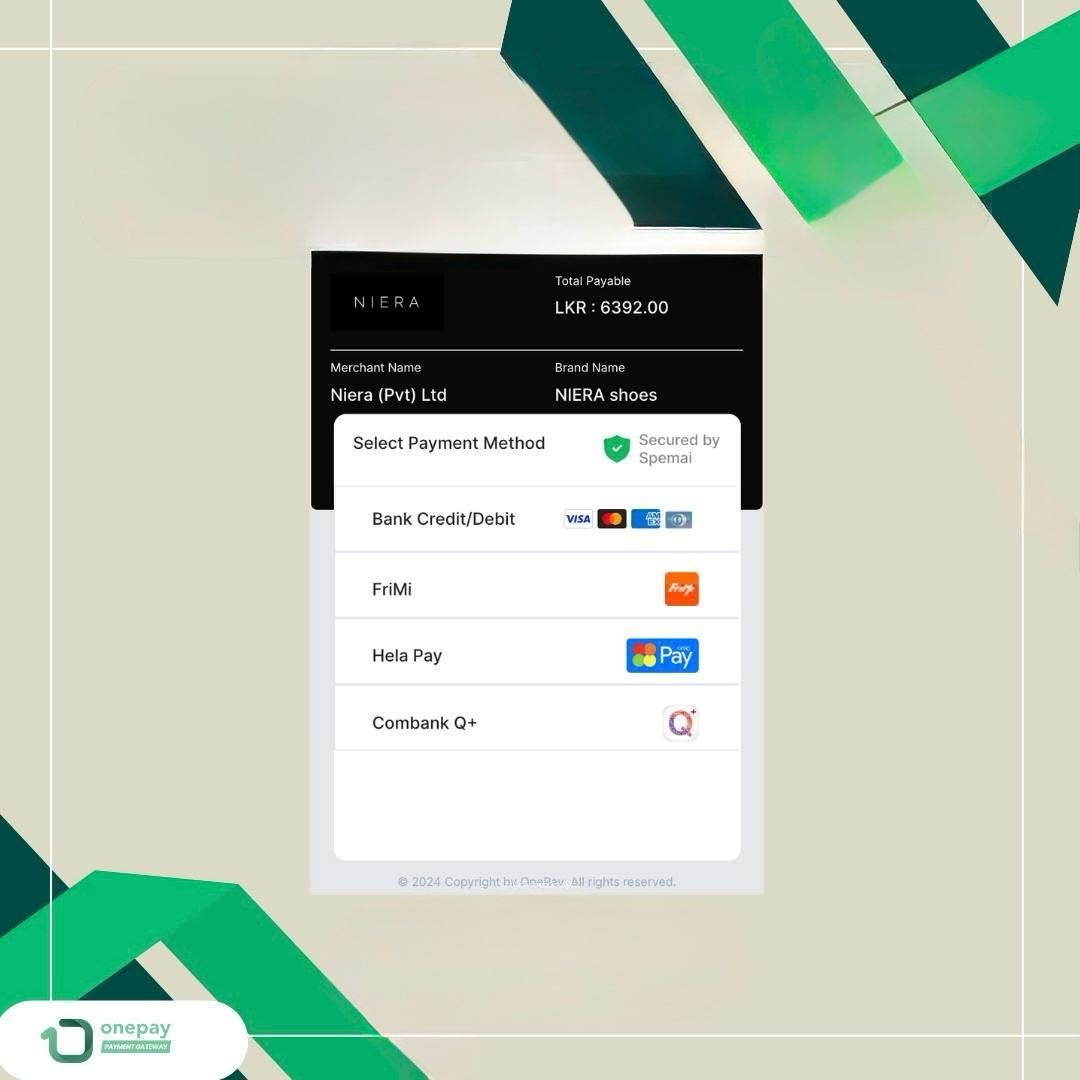
OnePayJS is a lightweight JavaScript that facilitates seamless integration with the OnePay payment gateway, allowing businesses to accept payments effortlessly on their websites. Designed for simplicity and efficiency, OnePayJS eliminates the need for page redirections by enabling an on-site payment gateway overlay.
- Import onepayJs from this url link
- Add it into your project index file
- Log into our onepay Dashboard and find the app id, Hash token and app token. You can see how its done here
- Add the following code based on your projects code base
<script src="https://storage.googleapis.com/onepayjs/onepayjs.js"></script>
<script>
window.onePayData = {
appid: "80NR1189D04CD635D8ACD",
hashToken: "GR2P1189D04CD635D8AFD",
amount: 100.00,
orderReference: "7Q1M1187AE",
customerFirstName: "Johe",
customerLastName: "Dohe",
customerPhoneNumber: "+94771234567",
customerEmail: "test@gmail.com",
transactionRedirectUrl: "https://www.google.com.au",
additionalData: "returndata",
apptoken: "ca00d67bf74d77b01fa26dc6780d7ff9522d8f82d30ff813d4c605f2662cea9ad332054cc66aff68.EYAW1189D04CD635D8B20",
currency: "LKR"
};
window.addEventListener("onePaySuccess", function (e) {
const successData = e.detail;
console.log("Payment SUCCESS ", successData);
});
window.addEventListener("onePayFail", function (e) {
const failData = e.detail;
console.log("Payment FAIL", failData);
});
</script>
<?php
$onePayData = [
'appid' => '80NR1189D04CD635D8ACD',
'hashToken' => 'GR2P1189D04CD635D8AFD',
'amount' => 100.00,
'orderReference' => '7Q1M1187AE',
'customerFirstName' => 'Johe',
'customerLastName' => 'Dohe',
'customerPhoneNumber' => '+94771234567',
'customerEmail' => 'test@gmail.com',
'transactionRedirectUrl'=> 'https://www.google.com.au',
'additionalData' => 'returndata',
'apptoken' => "ca00d67bf74d77b01fa26dc6780d7ff9522d8f82d30ff813d4c605f2662cea9ad332054cc66aff68.EYAW1189D04CD635D8B20",
'currency' => "LKR"
];
?>
<script>
// Convert the PHP array to a JSON object
window.onePayData = <?php echo json_encode($onePayData, JSON_UNESCAPED_SLASHES); ?>;
// Listen for success event
window.addEventListener("onePaySuccess", function (e) {
const successData = e.detail;
console.log("Payment SUCCESS (from PHP):", successData);
// You can do additional processing here or send an AJAX request to PHP
});
// Listen for fail event
window.addEventListener("onePayFail", function (e) {
const failData = e.detail;
console.log("Payment FAIL (from PHP):", failData);
// You can do additional processing here or send an AJAX request to PHP
});
</script>
import React, { useEffect } from "react";
function App() {
const onePayData = {
appid: "80NR1189D04CD635D8ACD",
hashToken: "GR2P1189D04CD635D8AFD",
amount: 100.0,
orderReference: "7Q1M1187AE",
customerFirstName: "Johe",
customerLastName: "Dohe",
customerPhoneNumber: "+94771234567",
customerEmail: "test@gmail.com",
transactionRedirectUrl: "https://www.google.com.au",
additionalData: "returndata",
apptoken: "ca00d67bf74d77b01fa26dc6780d7ff9522d8f82d30ff813d4c605f2662cea9ad332054cc66aff68.EYAW1189D04CD635D8B20",
currency: "LKR"
};
useEffect(() => {
// 1. Expose onePayData globally
window.onePayData = onePayData;
// 2. Add event listeners
const handleOnePaySuccess = (e) => {
const successData = e.detail;
console.log("Payment SUCCESS from React:", successData);
};
const handleOnePayFail = (e) => {
const failData = e.detail;
console.log("Payment FAIL from React:", failData);
};
window.addEventListener("onePaySuccess", handleOnePaySuccess);
window.addEventListener("onePayFail", handleOnePayFail);
return () => {
window.removeEventListener("onePaySuccess", handleOnePaySuccess);
window.removeEventListener("onePayFail", handleOnePayFail);
};
}, [onePayData]);
return (
<div style={{ margin: "20px" }}>
<div id="onepay-btn" />
<div id="iframe-container" />
</div>
);
}
export default App;
API Implementation
This guide walks you through the process of implementing our payment system using the REST APIs. We'll cover the steps from creating items to processing payments.
Implementation Steps
-
Create Items (Optional)
If you want to associate specific items with your payment request:
- Use the Create Item API to create items in the system
- Store the returned
item_idfor use in payment requests - You can verify the item creation using the Get Item API
- Items can be updated later using the Update Item API if needed
-
Generate Hash Key
Before creating a payment request, you need to generate a hash key:
- Concatenate the following values in order:
app_id + currency + amount + <<YOUR HASH SALT>> - Apply SHA-256 algorithm to the concatenated string
- Use the resulting hash string in your payment request
Example hash generation:
Input string: "80NR1189D04CD635D8ACDLKR100.00XXXHASHSALTXXX" Hash result: "126ff89348d80fb91ec4f25c2bd55e2f71d8f3986da9470eabe28b2f8becf21a" - Concatenate the following values in order:
-
Create Payment Request
To initiate a payment transaction:
- Use the Create Transaction API
- Include the
item_idsin the request if you want to associate specific items - The API will return a payment URL that you can use to redirect customers to the payment gateway
-
Track Payment Status
To monitor the payment status:
- Use the Get Transaction API to check the payment status
- Poll this endpoint periodically to track the payment completion
-
Callback Response
Set up your system to receive transaction status updates:
- Update your callback URL in the APP section of the Onepay portal
- Your endpoint should be configured to accept POST requests with JSON payloads
- After transaction completion, Onepay will send a callback with transaction details
Sample callback payload:
{
    "transaction_id": "WQBV118E584C83CBA50C6",
    "status": 1,
    "status_message": "SUCCESS",
    "additional_data": ""
}
Use this callback data for logging, verification, and updating transaction status in your system.
Recurring Subscriptions
Onepay provides two methods to implement recurring subscriptions: using the OnepayJS library or direct API implementation. This guide covers both approaches to help you choose the best method for your needs.
Implementation Methods
-
Using OnepayJS
The simplest way to implement recurring subscriptions is using our JavaScript sdk:
- Include the OnepayJS sdk in your project
- Configure the subscription parameters
- Call the onePaySubscription() function upon submit
- Handle subscription events/result
document.getElementById('subscriptionForm').addEventListener('submit', function(e) { e.preventDefault(); // Update subscriptionData with form values window.onePayData = { ...window.onePayData, appid: "YOUR_APP_ID", amount: 100.00, currency: "LKR", interval: "MONTH", interval_count: 2, days_until_due: 5, trial_period_days: 0, customer_details: { first_name: "Johe", last_name: "Doe", email: "johe.d@gmail.com", phone_number: "0778129152" } apptoken: "YOUR_APP_TOKEN" }; // Trigger the subscription process onePaySubscription(); }); // Handle subscription success window.addEventListener('onePaySuccess', function(event) { console.log('Payment successful:', event.detail); alert('Payment successful! Transaction ID: ' + event.detail.transaction_id); }); // Listen for failure event window.addEventListener('onePayFail', function(event) { console.log('Payment failed:', event.detail); alert('Payment failed! Transaction ID: ' + event.detail.transaction_id); }); -
Using API Implementation
For more control, you can implement recurring subscriptions using our REST API:
- Create a subscription using the Create Subscription API. The response will include the subscription ID.
- Handle the subscription response
- Manage subscription lifecycle events
- Create a subscription using the Create Subscription API. The response will include the subscription ID.
- View Subscription Details by ID using the Get Subscription by ID API to retrieve the details of the created subscription.
Frequently Asked Questions
days_until_due attribute of the create subscription request.
http://subscription.onepay.lk/redirect/<subscription_id>
For example:
subscription.onepay.lk/redirect/sub_cb85d265e33e4cd
Users can retry the subscription payment as many times as needed.
- Delete subscription: Set
is_delete: true. Note that deleted subscriptions cannot be reused. - Pause subscription: Set
is_pause: true. The subscription will remain paused untilis_pauseis set to false. - Cancel subscription: Set
is_canceled: true. This option can be useful when you need to cancel a subscription and reassign it to a different user.
WordPress Plugin Integration
Installation Steps
-
Install the Plugin
You can install the plugin in one of two ways:
- Visit WordPress Plugin Directory
- Or search for "Onepay Payment Gateway" from the WordPress plugins section
-
Activate the Plugin
After installation, activate the plugin from your WordPress plugins page
-
Configure Plugin Settings
Navigate to the plugin settings page and configure the following:
- Copy your App ID from the merchant portal
- Copy your App Token from the merchant portal
- Copy your Hash Salt from the merchant portal
- Paste these values in their respective fields in the Onepay plugin settings
-
Redirect Settings
The default redirect is set to the WooCommerce thank you page. You can keep this setting unless you have specific requirements.
Shopify Plugin Integration
Installation Steps
-
Install the App
Visit the Onepay Payment Gateway on the Shopify App Store and click "Install"
-
Authentication
You will be redirected to:
- Enter your Shopify domain (if not logged in)
- Or directly to the app page (if already logged in)
-
Grant Permissions
Review and approve the permission requests to install the app
-
Configure App Settings
On the Onepay Shopify app management page:
- Copy your App ID from the merchant portal
- Copy your App Token from the merchant portal
- Copy your Hash Salt from the merchant portal
- Paste these values in their respective fields
- Click the Save button to apply your changes
WHMCS Plugin Integration
Installation Steps
-
Get Plugin Files
After successful onboarding with Onepay, you will receive a ZIP file containing the plugin files
-
Extract Files
Unzip the file contents on your computer
-
Install Gateway Module
On your WHMCS server:
- Navigate to
modules/gatewaysdirectory - Copy the
onepayfolder andonepay.phpfile from the extracted ZIP - Paste them into the gateways directory
- Navigate to
-
Install Callback Handler
Still on your WHMCS server:
- Navigate to
gateways/callbackdirectory - Copy the
onepay.phpfile from the callback folder in the ZIP - Paste it into the callback directory
- Navigate to
-
Configure Plugin Settings
In your WHMCS admin panel:
- Locate Onepay in the payment gateways section
- Copy your App ID from the merchant portal
- Copy your App Token from the merchant portal
- Copy your Hash Salt from the merchant portal
- Paste these values in their respective fields
- Click Save to apply your changes
Flutter Plugin Integration
Getting Started
Add the dependency in your pubspec.yaml:
dependencies:
  ipg_flutter: ^1.1.3
Usage
var ipg = Ipg.init(
appToken: 'your_token',
appId: 'your_app_id',
firstName: 'John',
lastName: 'Doe',
email: 'john.doe@sample.com',
phoneNumber: '0000000000',
);

// Start card addition flow
ipg.addNewCard(context);

// Callback when card add flow completes
ipg.addCardEventCallback = (status, errorMessage) {
print("Adding card result: $status - $errorMessage");
};

// Retrieve customer list (saved cards)
ipg.getCustomers();

// Callback when customers are retrieved
ipg.getCustomersEventCallback = (customerList, errorMessage) {
print("Customers: $customerList");
};

// Make customer payment
// Valid Currency codes: LKR, USD
ipg.makeCustomerPayment(amount, currencyCode, customerCardToken);

// Listen to payment status
ipg.customerPaymentEventCallback = (status, errorMessage ) {
print("Payment Status: $status - $errorMessage");
};
Android Setup
Since this package communicates with the internet, make sure you have added the following permission in your AndroidManifest.xml file:
<uses-permission android:name="android.permission.INTERNET" />📦 Example
Clone the repo and run the example:
cd example
flutter create
flutter runTest Card Details
Use the following test card details for integration testing:
| Card Type | Card Number | Expiration Date | CVV |
|---|---|---|---|
| Visa | 4508750015741019 | 01/39 | 100 |
| Visa | 4012000033330026 | 01/39 | 100 |
| Master | 5123450000000008 | 01/39 | 100 |
| Master | 5111111111111118 | 01/39 | 100 |